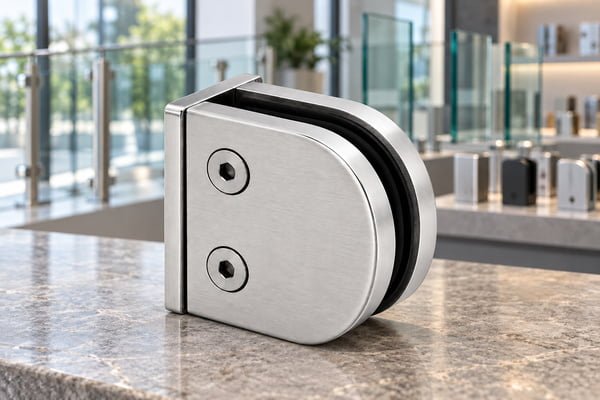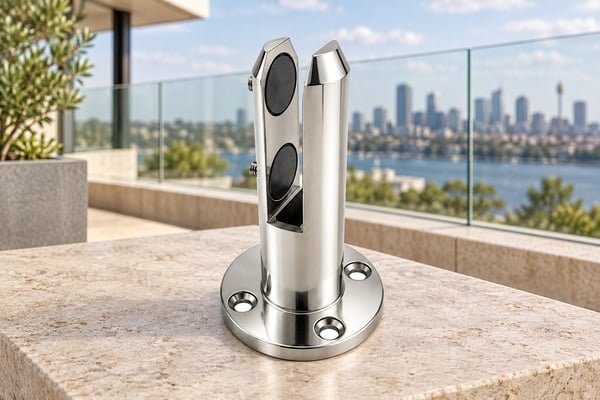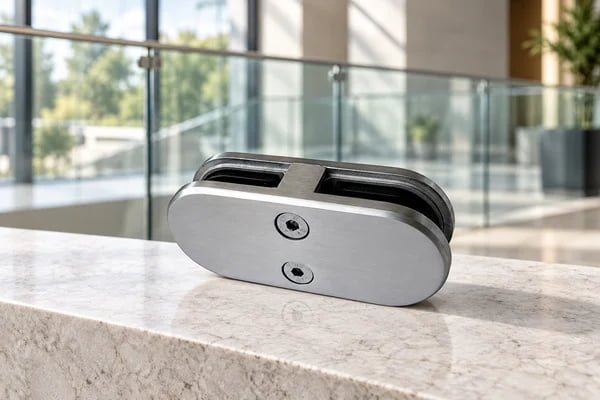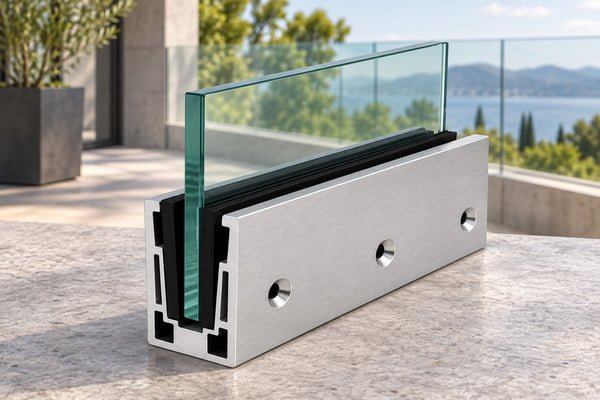
Quick answer — side mounted glass railing hardware: Select side-mounted glass railing hardware from the structural edge section, fixing offset and glass-support arrangement. Show the structural face separately from cladding and finishes. Base shoes and side-mounted posts create different interfaces, so compare complete assemblies with their fasteners, internal parts and installation access included.
This site-survey checklist is for contractors comparing glass railing components. Its purpose is to convert photographs and site measurements into an enquiry that a supplier and the project designer can review together.
Survey zone 1: identify what is actually structural
The Hilti technical-guide library provides system-specific fastening references. Use documentation for the selected anchor and substrate, with design approval where required. Hardware dimensions alone cannot establish acceptable edge distances or fixing capacity.
Keep glass selection separate. The AGWA glass-standard notice provides Australian context; the CPSC tempered-glass alert highlights safety considerations without specifying this railing assembly.
Survey zone 2: choose the connection family
Elim catalogue comparison: Elim’s side-fixing base shoe and side-mounted end post identify two catalogue approaches; the corner post adds a change-of-direction interface. Their labels do not establish a shared anchor layout or interchangeable structural capacity. Catalogue references: side-fixing glass base shoe, side-mounted end post.
Buying decision: Freeze the reference surface before comparing projections. A quotation measured from concrete and another measured from finished cladding can describe different actual offsets. Resolve that mismatch first, because increasing offset changes the connection demand as well as the visible position.
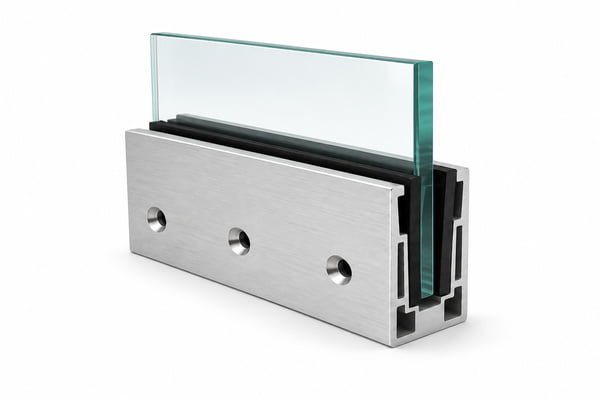
Catalogue reference: Side-fixing Glass Railing Base Shoe.
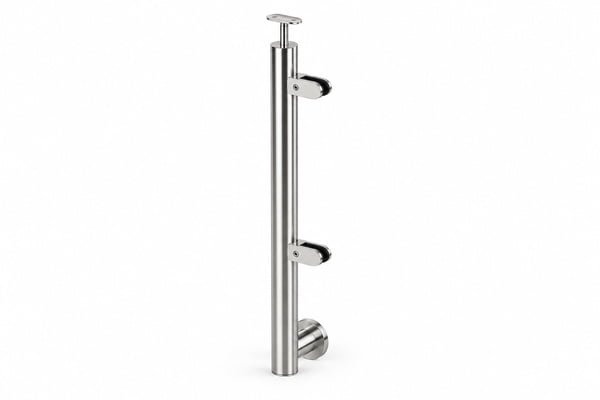
Catalogue reference: Reflective Silver Side-mounted Glass Railing End Post.
At changes of direction, review the corner as its own detail. The round corner railing post is a catalogue reference for that discussion, not proof that it matches either side-mounted arrangement. Keep the mounting method and connection geometry explicit.
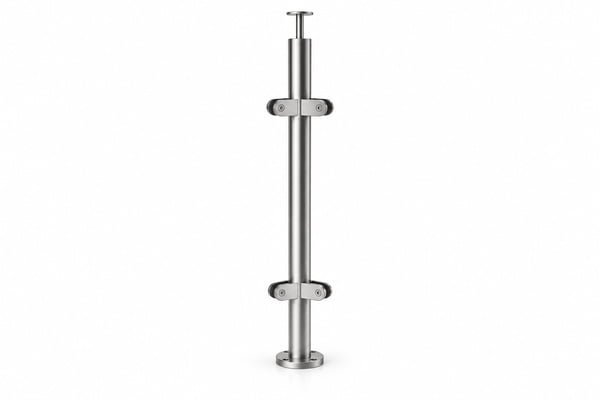
Catalogue reference: Round Corner Glass Railing Post.
How does a side-mounted fixing offset change the load path?
The simple moment relationship is M = F × e. In a worked example, a 1 kN force acting at a 50 mm offset creates 0.05 kN·m; at 100 mm it creates 0.10 kN·m. These illustrative inputs are not a design load or an Elim rating.
| Offset example | Moment from the same 1 kN force |
|---|---|
| 50 mm | 0.05 kN·m |
| 100 mm | 0.10 kN·m |
This is why extra spacers cannot be treated as cosmetic changes. Show the structural face, finished facade and fixing centreline on the section. At the rail interface, published connector descriptions such as Highco’s 42.4 × 1.5 mm tube designation also demonstrate the need for complete section dimensions. Neither calculation nor dimensional fit establishes the capacity of the full balustrade.
Source: Published handrail interface example. Reference checked 27 September 2026.
Request a matched quotation: Send the slab-edge section, fixing offset and glass layout for a side-mounted hardware proposal..
Survey zone 3: establish the measurement datum
Ask the surveyor to photograph each measuring location with its identifier visible. Pair those images with a dimensioned drawing; do not rely on a photograph’s perspective to establish offsets.
The following completed example is fictional and demonstrates how to report an unresolved interface without disguising it as an approved dimension.
| Survey field | Example record |
|---|---|
| Location | Balcony B, east edge |
| Reference face | Exposed structural concrete |
| Finish status | Cladding not installed |
| Access | Outside access requires planned equipment |
| Open item | Final cladding build-up due from architect |
| Release status | Hold affected fixing detail |
Survey zone 4: rehearse installation and replacement
Then reverse the exercise: how would a damaged pane or component be removed? Maintenance access can influence the choice between visually similar arrangements. Record which covers or adjacent finishes need removal and who is responsible for restoring them.
Use the glass-clamp compatibility checklist to track glass, liners and hardware as an assembly. A well-surveyed substrate does not resolve a mismatched glass interface.
Survey zone 5: describe exposure and handover
State whether the edge is coastal, sheltered or exposed to deposits. ASSDA’s tea-staining discussion and IMOA’s coastal guidance help explain why location and surface condition belong in the specification. Obtain care instructions appropriate to the delivered material and finish, supported by stainless cleaning guidance.
Ask for packaging that separates finished parts and preserves location labels. Refer to ISTA’s procedures when discussing distribution testing, and align carton descriptions with export-document guidance. The installer should be able to identify the intended location before opening every pack.
Continue the same project: Glass Spigots vs. Standoffs: A Procurement Guide for Railing Projects covers the next related purchasing decision in this system.
Final site questions
Does side mounting always save usable floor area? Its effect depends on the finished geometry and supporting detail; compare the actual sections.
Can the order proceed while the edge finish is undecided? Separate unaffected items from components whose interfaces remain unresolved.
Send the survey, structural section, glass layout, access notes and quantities through the contractor enquiry form. Ask the supplier to identify assumptions on the returned drawing so the project team can close them before manufacture.