A tiled surface is a finish, not an anchorage specification: Before ordering pool fence spigots, identify the structural substrate, tile and bedding layers, waterproofing, drainage and available fixing geometry. Select the complete connection with the responsible designer; do not choose anchor length by adding the visible tile thickness to a familiar fixing.
This site-survey checklist helps contractors buying pool fence hardware prevent late changes. It separates what the buyer can record from what the fixing designer must approve. No universal edge distance, embedment or spigot spacing is proposed here.
Survey the deck in section
Draw a section through the proposed mounting location. Identify each known layer and mark uncertainties for investigation. Establish whether the structural support is concrete, steel, timber or another construction. Record nearby edges, joints, drainage channels and services before preparing the hardware order.
A base-plate spigot and a core-drill spigot use different mounting arrangements. The base-plate versus core-drill guide helps organize the comparison, but neither method is suitable merely because its cover looks appropriate on the finished deck.
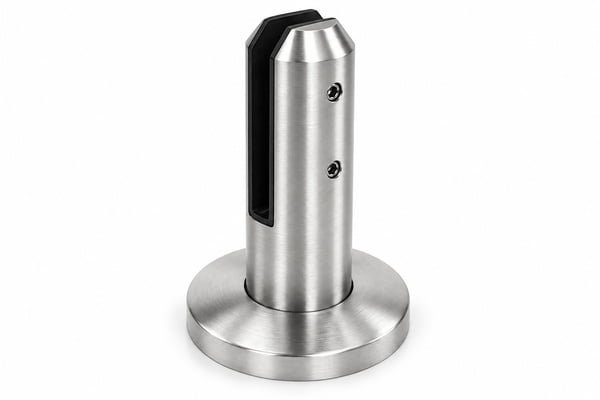
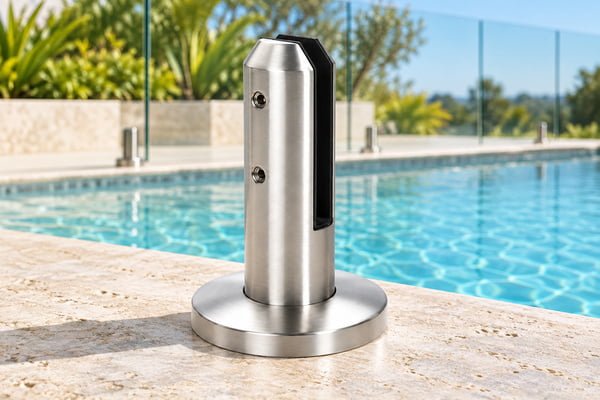
Product reference: Round Base-Plate Glass Pool Fence Spigot. Match the supplied configuration to the approved drawing.
Divide the survey into purchasing and design inputs
| Input | Record on site | Obtain from the responsible designer |
|---|---|---|
| Surface layers | Known thicknesses and construction | Approved load transfer detail |
| Structural substrate | Available records and observations | Suitability and required verification |
| Edges and joints | Locations relative to proposed fixings | Permitted fixing arrangement |
| Waterproofing | System and penetration locations | Approved sealing detail |
| Drainage | Falls, outlets and potential obstructions | Coordination of the completed assembly |
An illustrative section might contain a 10 mm tile and a 15 mm bedding layer above the structural support. Together they create 25 mm of finish build-up. That arithmetic does not establish a spacer, anchor or embedment requirement. The fixing design must account for the actual construction and complete load path.
Resolve the structural fixing separately
Consult the selected anchor manufacturer’s technical guides, using information for the actual substrate and anchor system. Identify whether site testing or further investigation is required. Do not treat a generic anchor catalogue as approval for an unknown deck.
Coordinate panel sizes and hardware with the applicable pool-barrier requirements. CPSC’s barrier guidance and NSW’s pool-safety obligations show why local context matters. The responsible professional must identify the rules and checks that govern the particular installation.
Protect the waterproofing without improvising a seal
Ask the waterproofing designer or system supplier to approve penetrations and interfaces. Document preparation, compatible materials and access for inspection. A decorative spigot cover is not automatically a waterproof flashing, and an arbitrary bead of sealant is not a design detail.
Consider how the assembly will be cleaned and how water exits the surrounding area. Review exposure using coastal stainless guidance and tea-staining prevention. The presence of a pool does not identify the actual chemical exposure at every component; document splash, cleaning practices and local conditions.
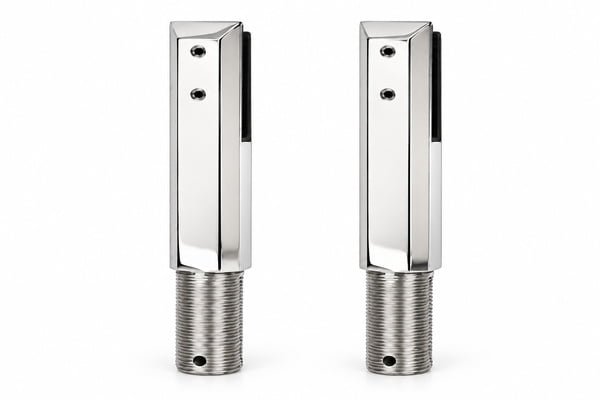
Product reference: Threaded-Shank Core-Drill Pool Fence Spigot — Polished silver appearance concept. Match the supplied configuration to the approved drawing.
Build one coordinated sample location
Before committing all hardware, review a representative location with the selected spigot, glass interface and finish build-up. Confirm that tools can reach the fixings and that covers can be installed and removed in the proposed sequence. Record the approved configuration and any unresolved site issue.
Material identity can be reviewed using grade-confirmation guidance. Glass preparation remains a separate controlled operation; CPSC’s tempered-glass alert is relevant when a late hardware change would otherwise prompt reworking a completed panel.
Order and hand over the complete arrangement
List what the hardware supplier includes and what another contractor supplies. Specify the spigot reference, gaskets, covers, approved fasteners where included and drawing revisions. Exclusions should be visible in the quotation rather than discovered during installation.
The pool fence handover guide provides a structure for recording installed components and maintenance responsibilities. Include care instructions consistent with the supplied finish and stainless cleaning guidance. Preserve the waterproofing and fixing details with the installed-location records.

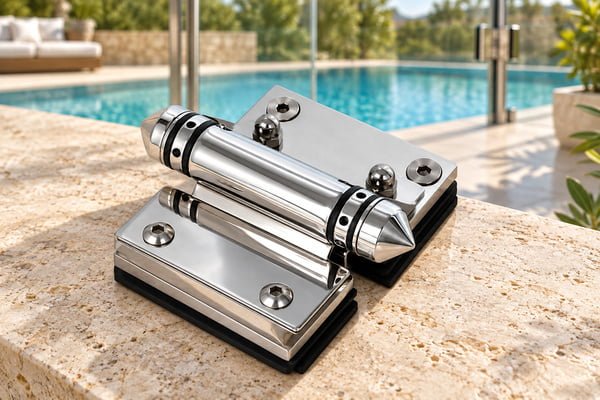
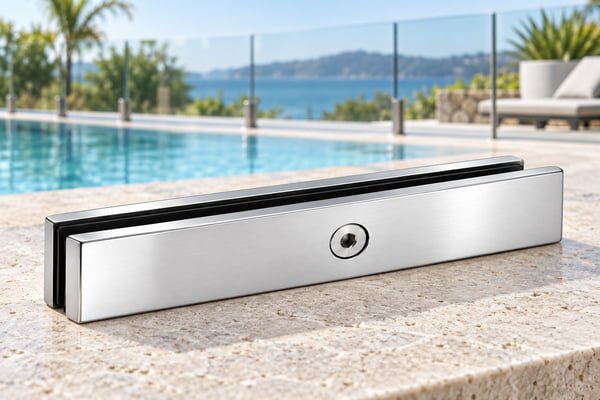
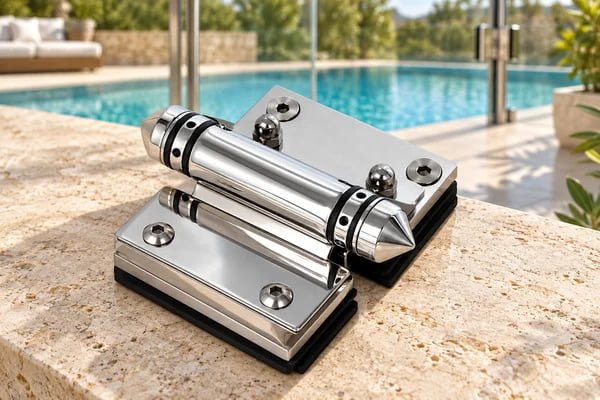
Product reference: Set-Screw Glass Pool Fence Standoff. Match the supplied configuration to the approved drawing.
Can a thicker tile be handled with a longer fixing? That change requires design review; length alone does not describe the connection.
Can the cover conceal an uneven bearing surface? Concealment does not resolve the underlying support or drainage detail.
What makes a quotation comparable? The same approved section, included components and installation assumptions.
Discuss manufacturable details through Elim’s capabilities, then send the deck section and panel schedule. Resolve the substrate, waterproofing and fixing arrangement before releasing the final order.