Before ordering: Identify the existing assembly, record its interfaces and establish why replacement is needed. A replacement glass fitting must fit the complete system, not just the visible hole. Do not remove a component from a functioning barrier until the responsible installer has arranged safe support and access control.
This field worksheet is for maintenance buyers working with glass balustrade hardware. It helps turn photographs into a useful replacement enquiry while keeping structural decisions with the qualified project team.
The first phone call: ask what changed
Is the fitting damaged, loose, stained or simply unavailable from the original supplier? These are different purchasing problems. A finish complaint may need a care assessment; movement may indicate a connection or substrate problem that a new decorative part will not solve.
Ask for the installation date, location, original order reference and any maintenance record. Photograph the entire bay before taking close-ups. Mark the affected position on a simple sketch. Include both sides where safely accessible, and show neighbouring parts so the support arrangement is understandable.
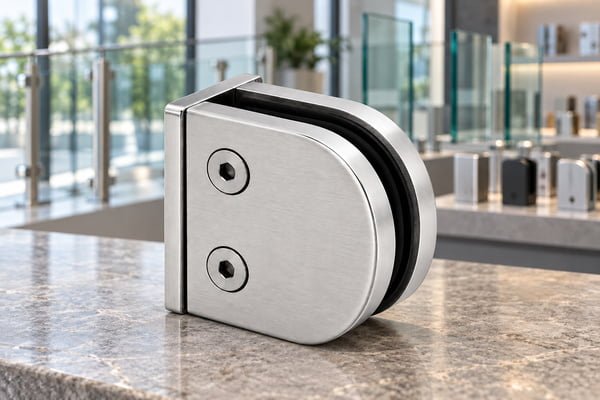
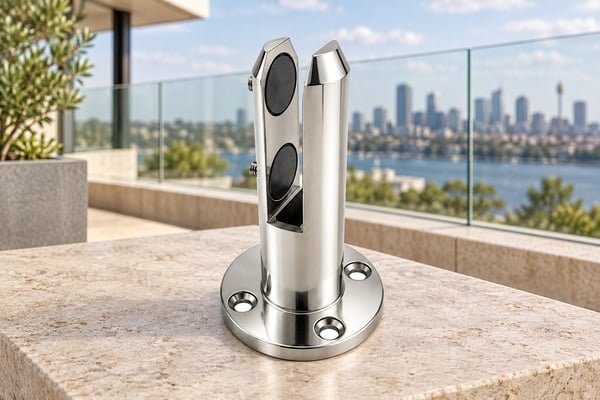
Compare the observed arrangement with a D-shaped clamp reference and a glass spigot reference, but do not identify a model from resemblance alone. Similar bodies can conceal different gaskets, threads or fixing arrangements.
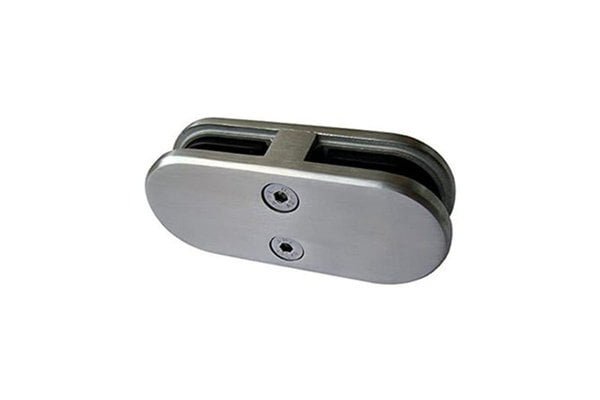
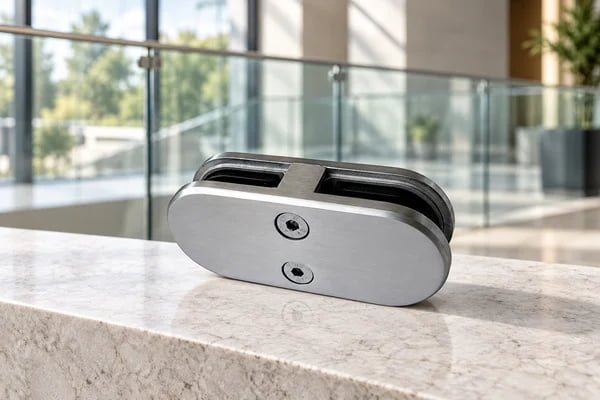
Product reference: Complete inline glass-to-glass connector clamp. Confirm the ordered configuration against its drawing.
The measurement sheet: record datums and units
| Measurement group | What the buyer records | Why it matters |
|---|---|---|
| Glass | Build-up, thickness and existing preparation | Determines the approved glass interface |
| Mounting | Hole centres, orientation and receiving surface | Determines whether the replacement can connect |
| Fitting | Body envelope and usable clearance | Reveals clashes with adjacent components |
| Thread | Diameter, pitch, handedness and engagement | Prevents a superficially similar mismatch |
| Accessories | Gasket, washer, sleeve and fastener references | Defines the complete replacement kit |
Write measurements as numbers with units. For example, “centre distance measured at 50.0 mm” is more useful than “about two inches.” This is an example record, not a catalogue dimension. Include instrument resolution and explain any measurement taken through an obstruction. Do not report an estimated dimension as a verified one.
Use the clamp and gasket checklist to separate glass-contact parts from mounting parts. The CPSC tempered-glass alert is especially relevant when someone proposes altering existing glass to make a new fitting fit. Stop and involve the glass supplier instead.
The diagnosis: separate fit from cause
If a screw repeatedly loosens, ask the installer to examine the complete connection rather than requesting a stronger screw by default. Review the original installation instructions, substrate and evidence of movement. Manufacturer anchor guides show why base material and fixing geometry cannot be inferred from a surface photograph.
For staining, collect cleaning-product details, exposure history and clear photographs before cleaning. Consult ASSDA’s tea-staining explanation, IMOA’s coastal-exposure guidance and stainless cleaning advice. These explain general mechanisms; they do not diagnose the particular installation remotely.
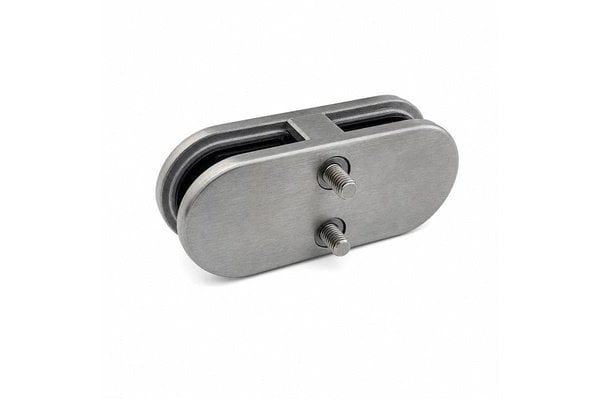
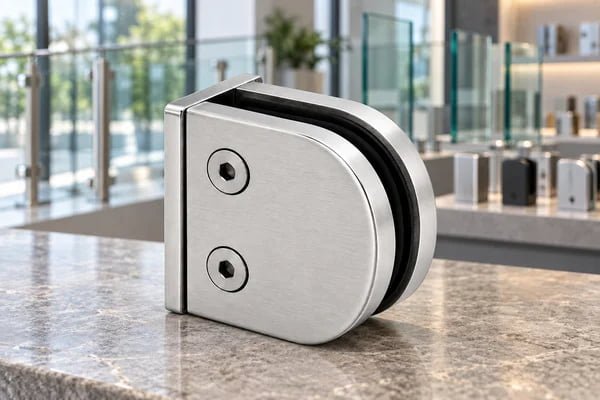
Product reference: Inline glass connector clamp viewed at an angle. Confirm the ordered configuration against its drawing.
The supplier enquiry: ask for an equivalence response
Send the measurements, photographs and original drawing together. Ask the supplier to state each difference from the original component. An answer saying “equivalent” should identify the glass interface, mounting geometry, materials, accessory pack and performance evidence behind that conclusion.
Elim’s manufacturing capabilities provide a starting point for discussing a replacement part. A custom part still needs approval for its intended assembly. For material identification, ASSDA’s grade-testing guidance helps frame the evidence request; appearance or magnetic response alone should not settle the purchase.
Use the spigot-versus-standoff guide if the proposed replacement changes the mounting family. That change can affect more than the individual part and should be reviewed as a system alteration.
The delivery: protect the evidence trail
Keep the old part labelled, if the installer can remove and retain it safely. Do not mix components from several locations in one unmarked bag. Put the approved replacement drawing revision on the purchase order and identify included accessories explicitly.
Ask for protective packing appropriate to the route; ISTA’s packaging overview can support that discussion. Match the description on the carton and invoice using the export-document reference. Retain the supplier response, receiving photographs and installation record under one service reference.
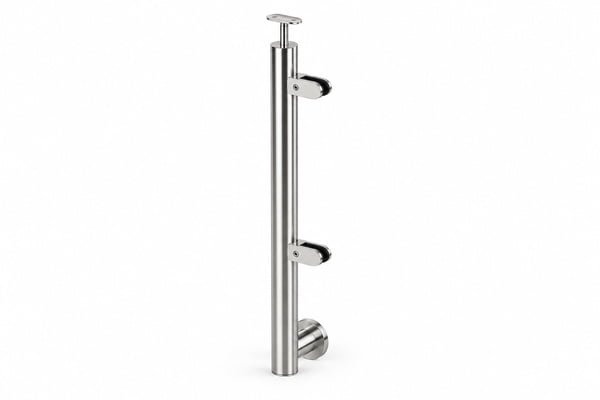
Product reference: Reflective Silver Side-mounted Glass Railing End Post. Illustrative hardware reference; match the ordered configuration to its approved drawing.
Three practical answers
Can I send only a photograph? It can start identification, but dimensional and interface information is normally needed before ordering.
Can I reuse old gaskets? Only when the responsible supplier and installer approve their identity and condition for the replacement assembly. Include new compatible accessories in the enquiry rather than assuming reuse.
When is the job complete? After the installer has completed the required checks and recorded the replacement, not when the parcel arrives.
Send Elim a replacement enquiry with the location sketch, measurement sheet and original references. Request a documented compatibility review before committing to bulk replacements.